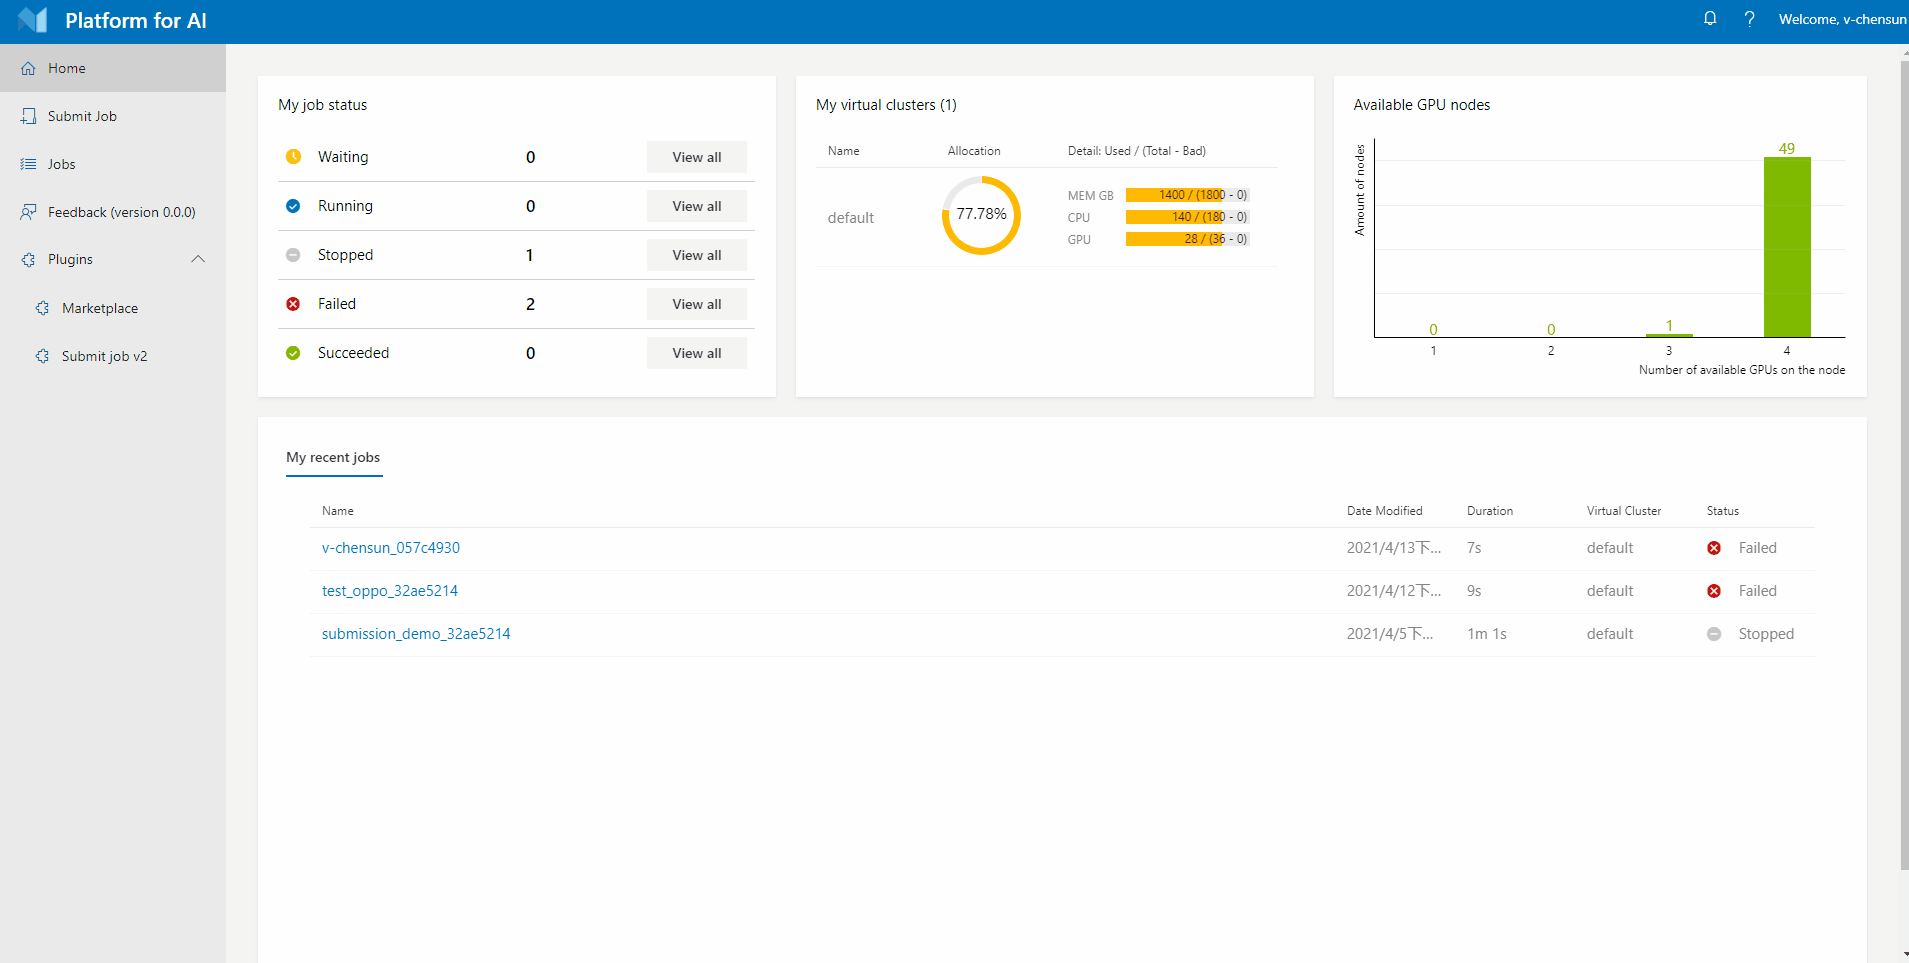
How To Use New Submission page
Submit the Hello World Job Step by Step
Instead of submitting the job in the old version, you can now switch to the new version to submit the hello world job. The following is a step-by-step guide:
Step 1. Login to OpenPAI webportal.
Step 2. Click Submit Job on the left pane, then click Single or Distributed to reach the old version page. Then click Switch to new version to reach the new version page.
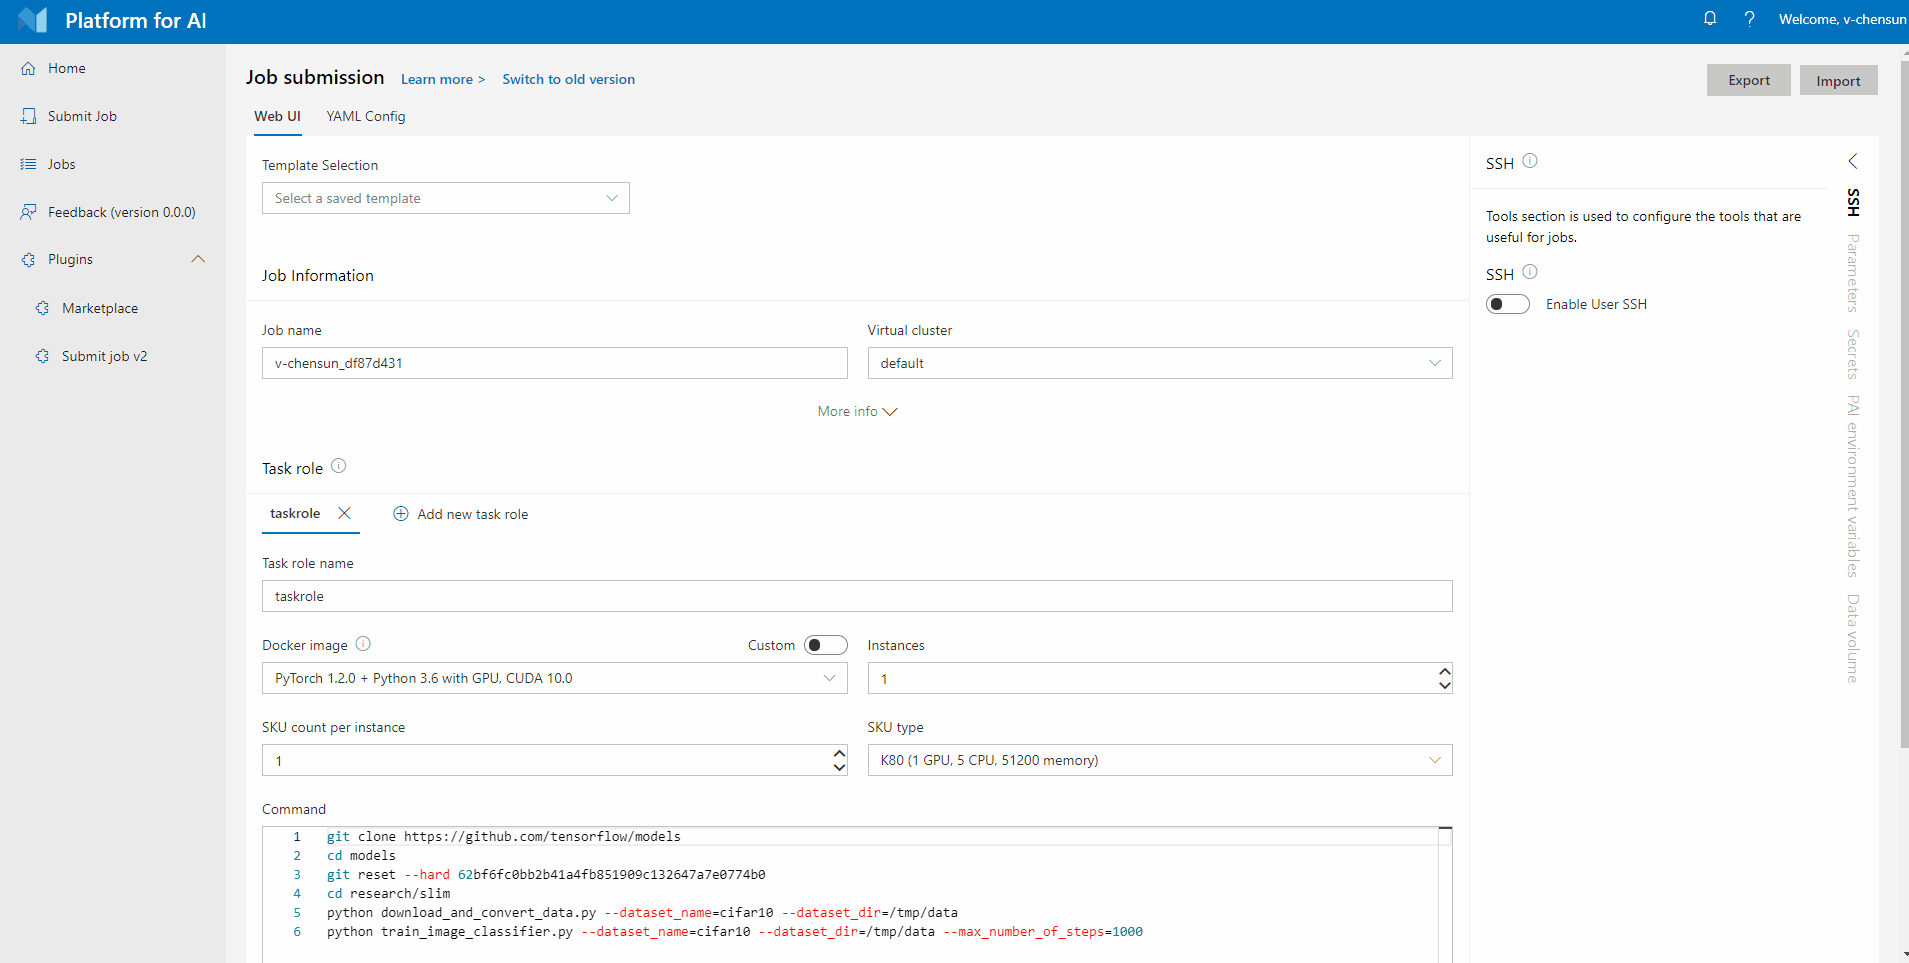
Step 3 Select your virtual cluster, and give a name for your job. Then copy the following commands into the command box.
git clone https://github.com/tensorflow/models
cd models
git reset --hard 62bf6fc0bb2b41a4fb851909c132647a7e0774b0
cd research/slim
python download_and_convert_data.py --dataset_name=cifar10 --dataset_dir=/tmp/data
python train_image_classifier.py --dataset_name=cifar10 --dataset_dir=/tmp/data --max_number_of_steps=1000
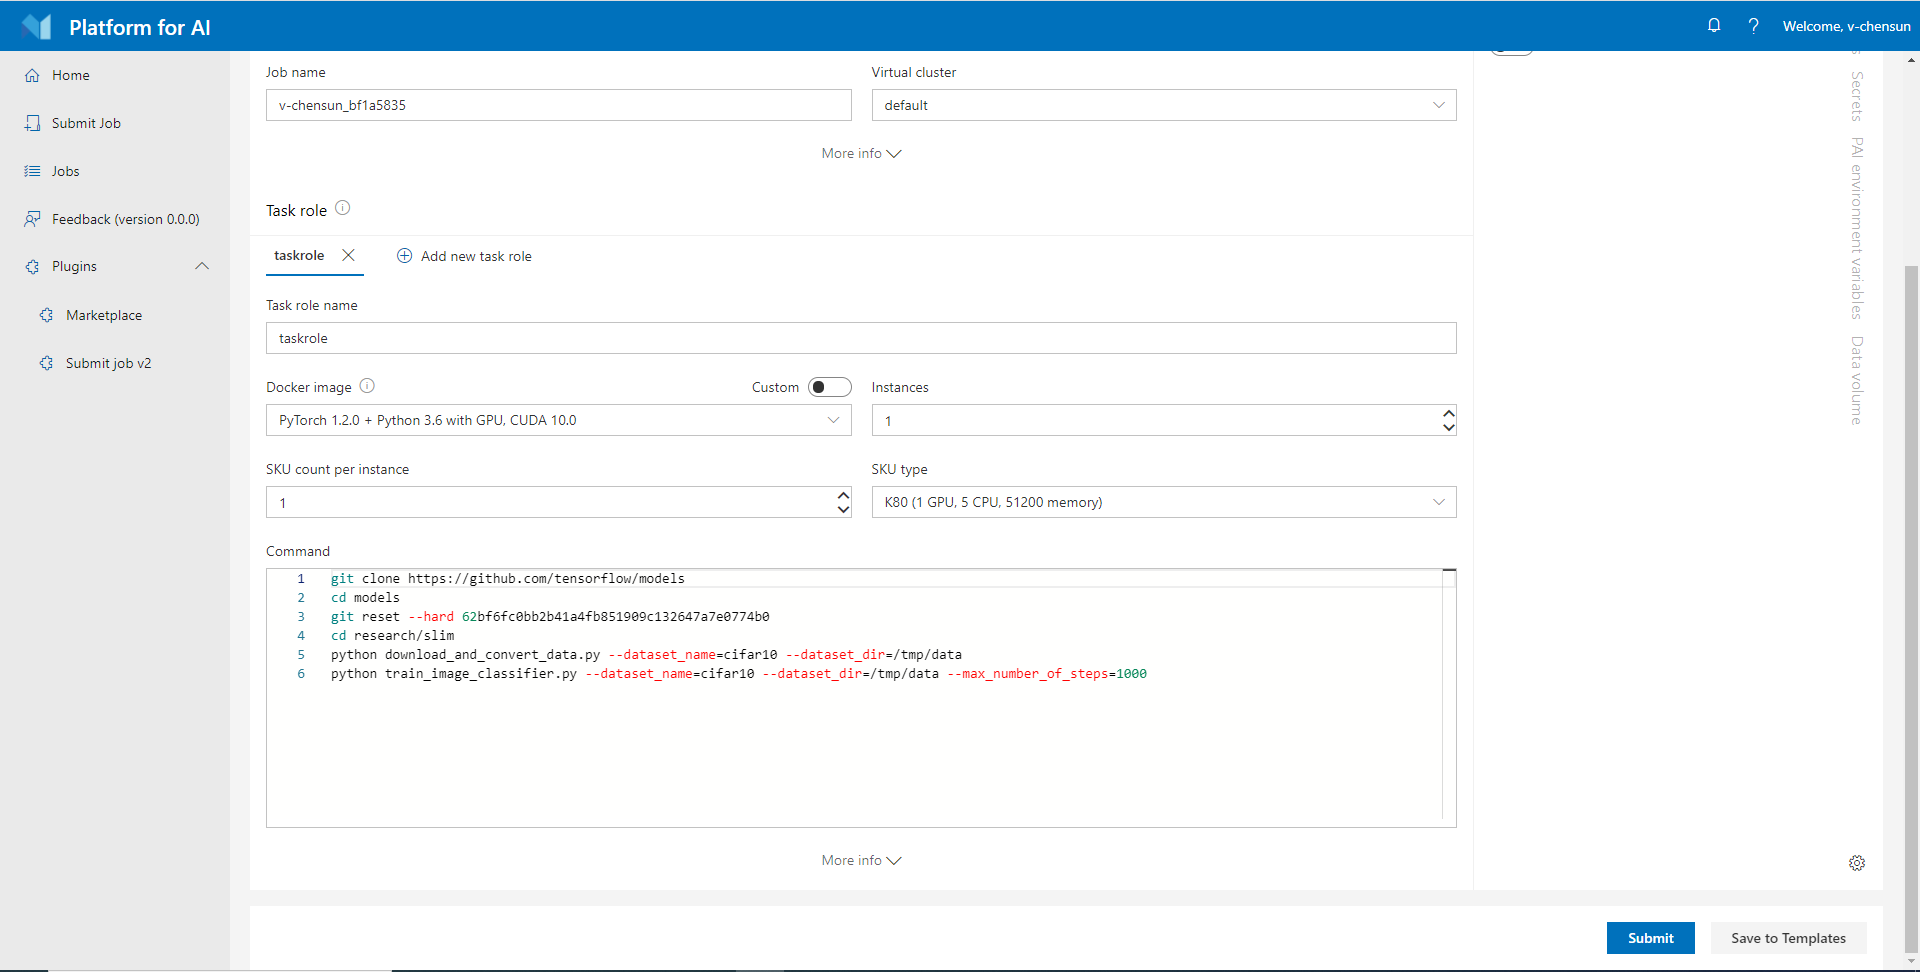
Step 4 Specify the resources you need. If you use the default scheduler, OpenPAI allows you to quantify the three resources of GPU, CPU, and memory. When custom is selected, the three resources will be configured independently. If you use the hived scheduler, OpenPAI uses resource SKU to quantify the resource in one instance. For example, here 1 DT SKU means 1 GPU, 5 CPUs, and 53914 MB memory. If you specify one DT SKU, you will get a container with 1 GPU, 5 CPUs, and 53914 MB memory. If you specify two DT SKUs, you will get a container with 2 GPUs, 10 CPUs, and 107828 MB memory.
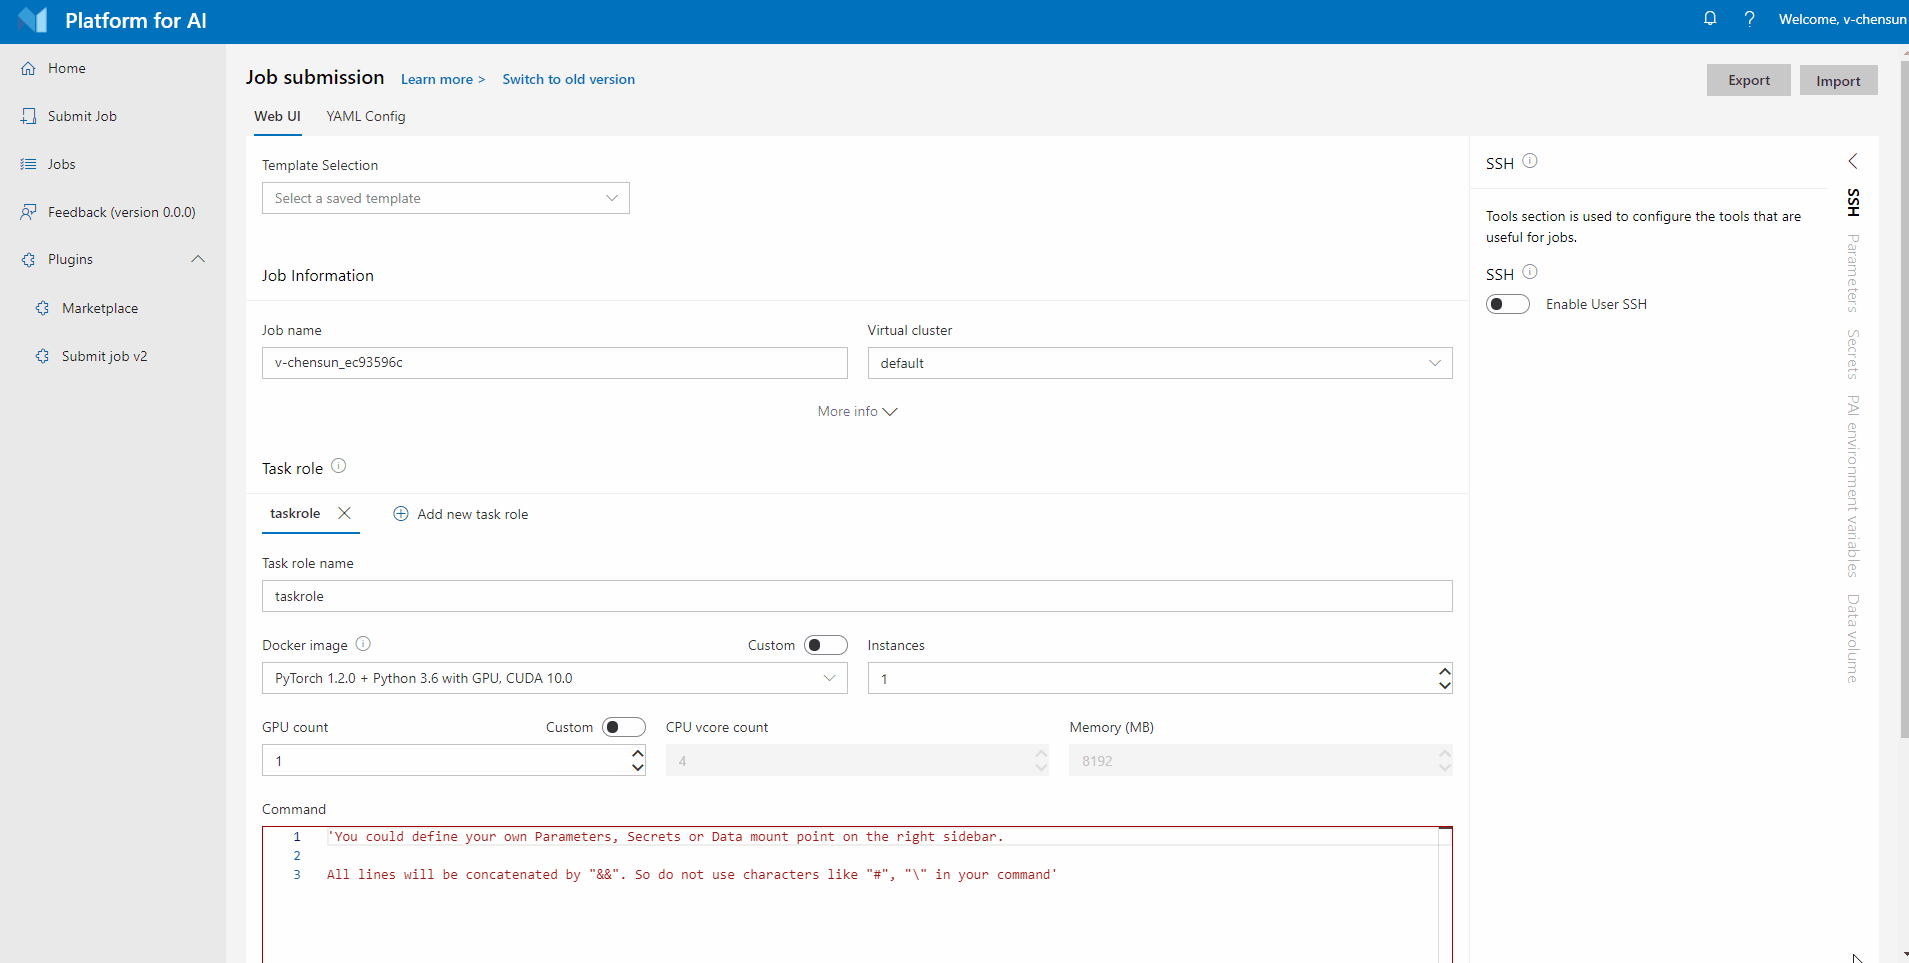
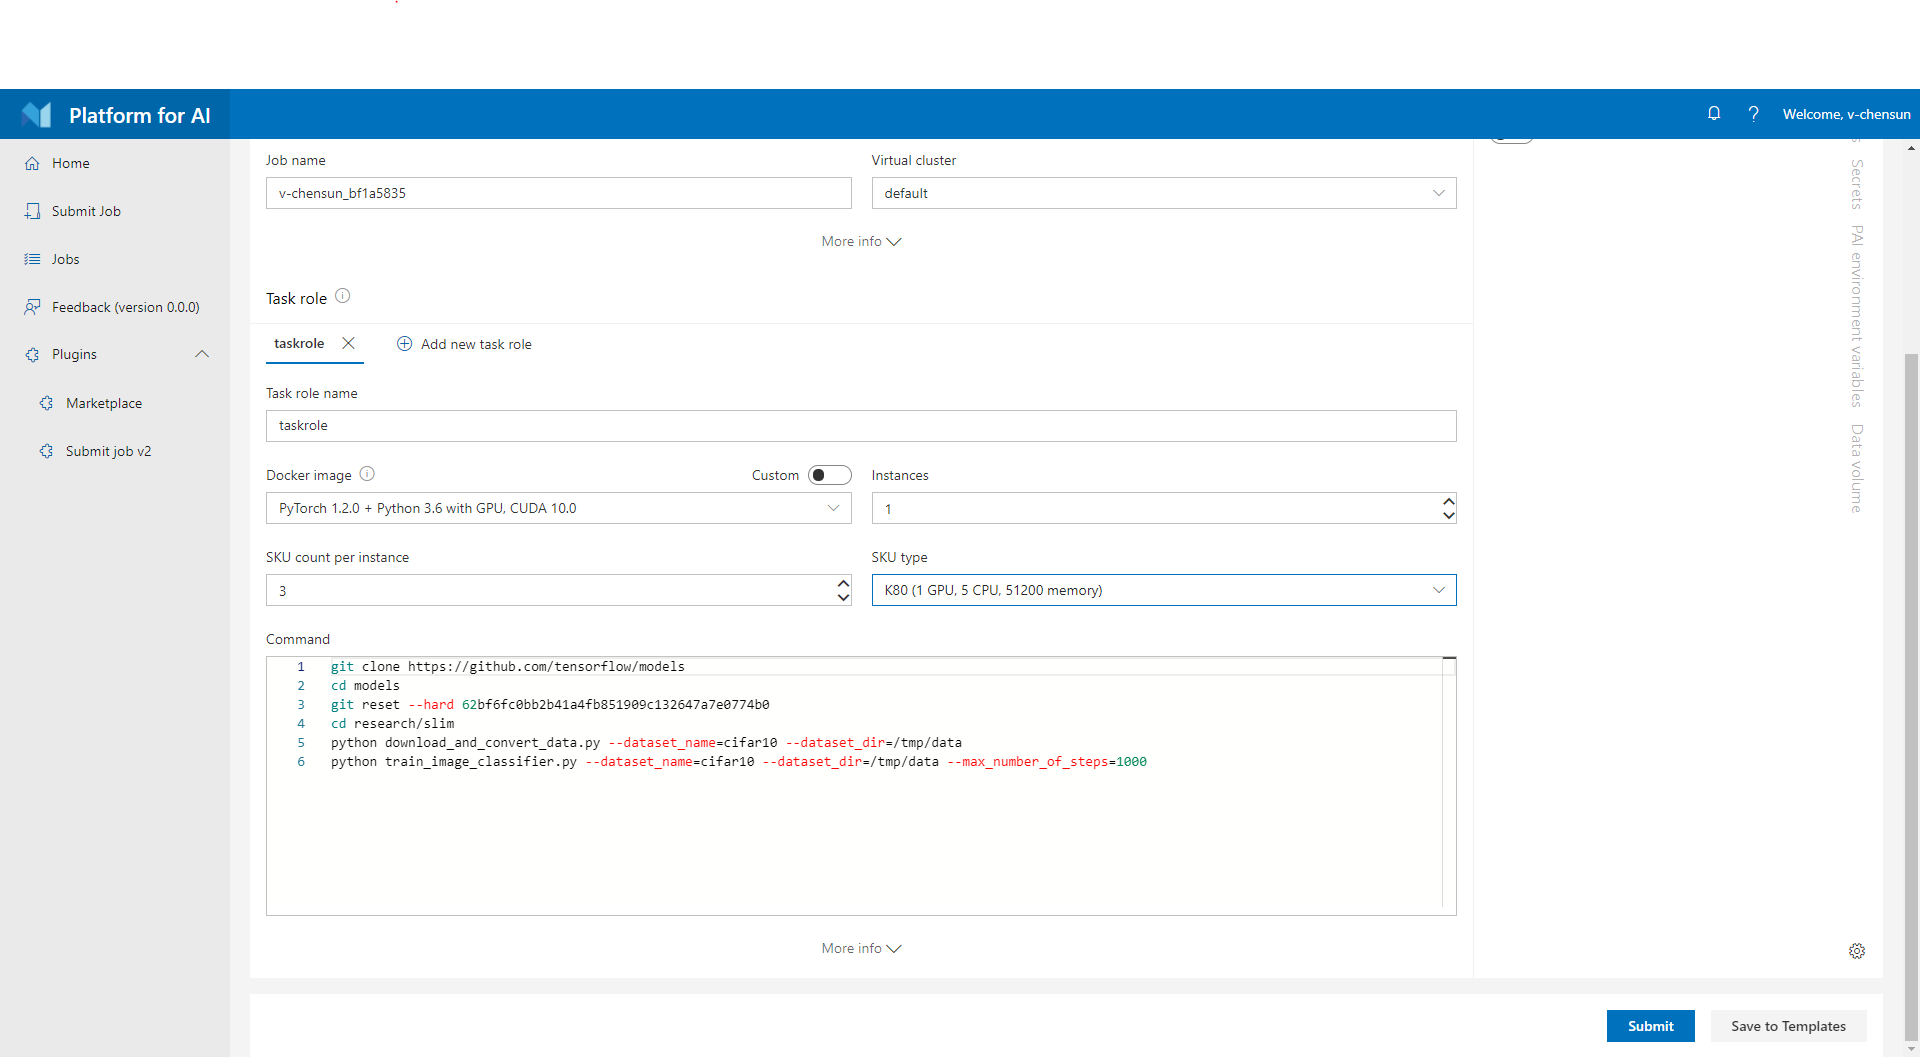
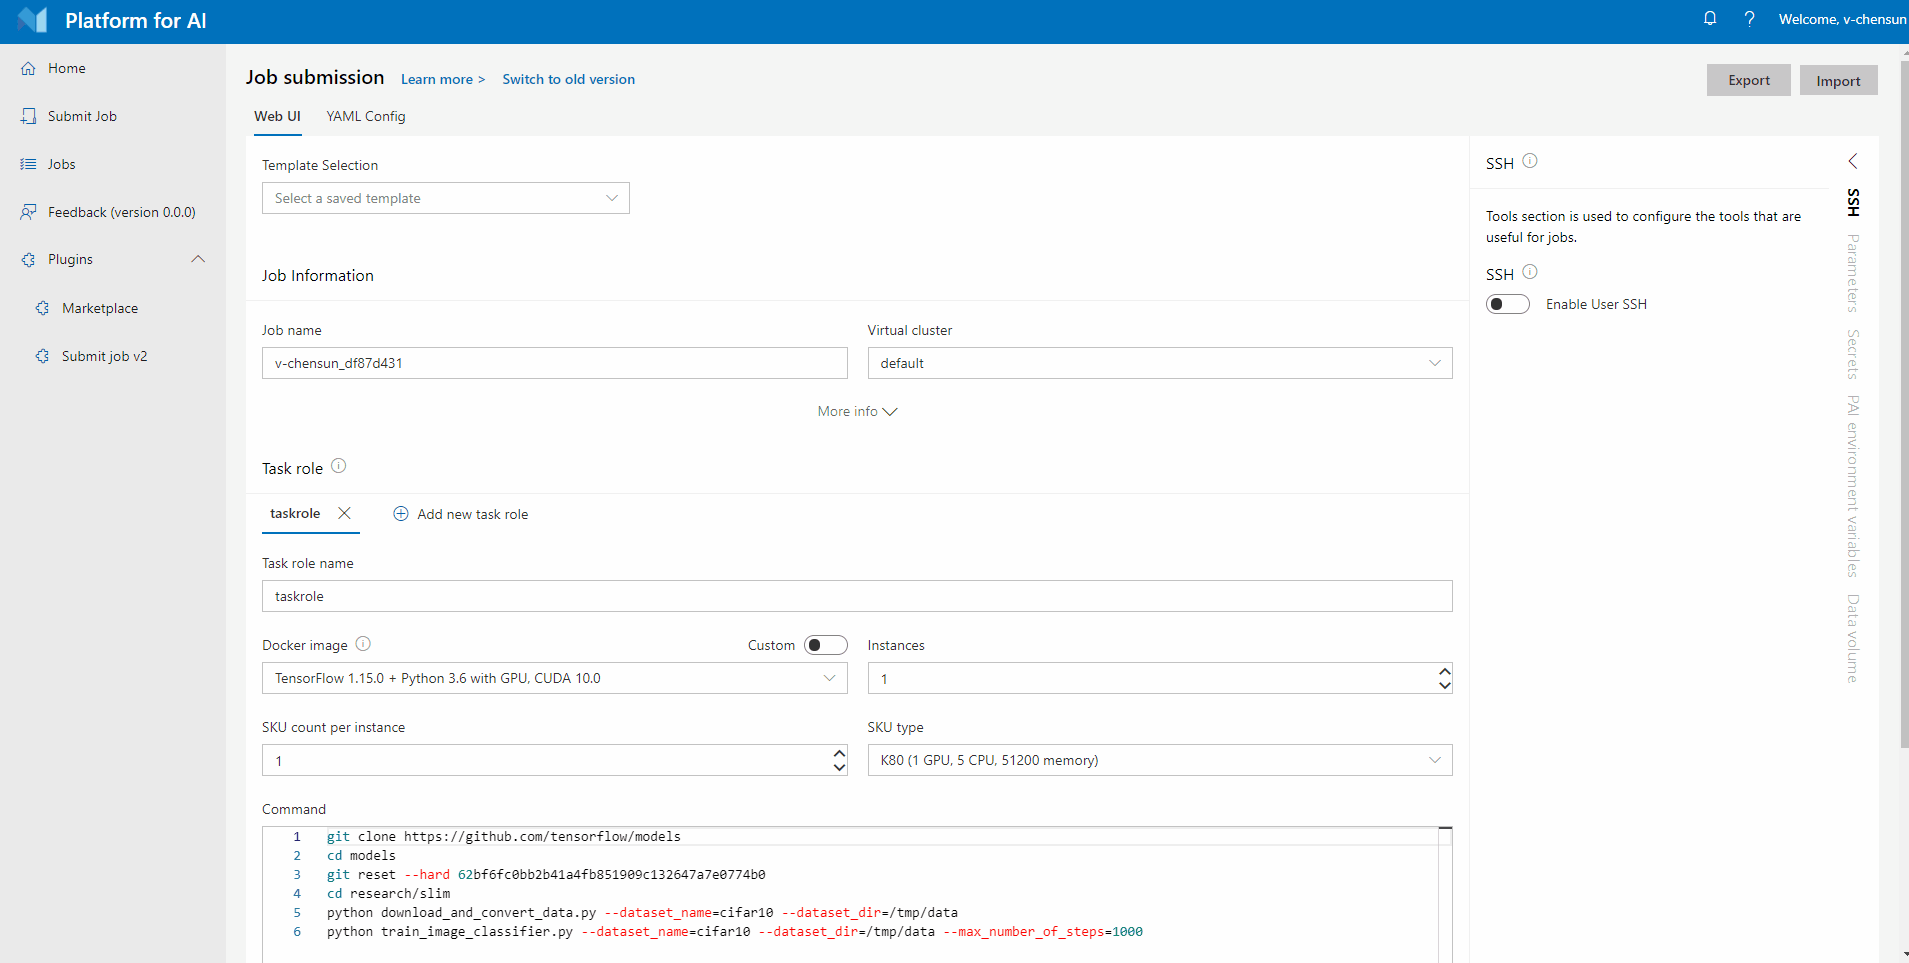
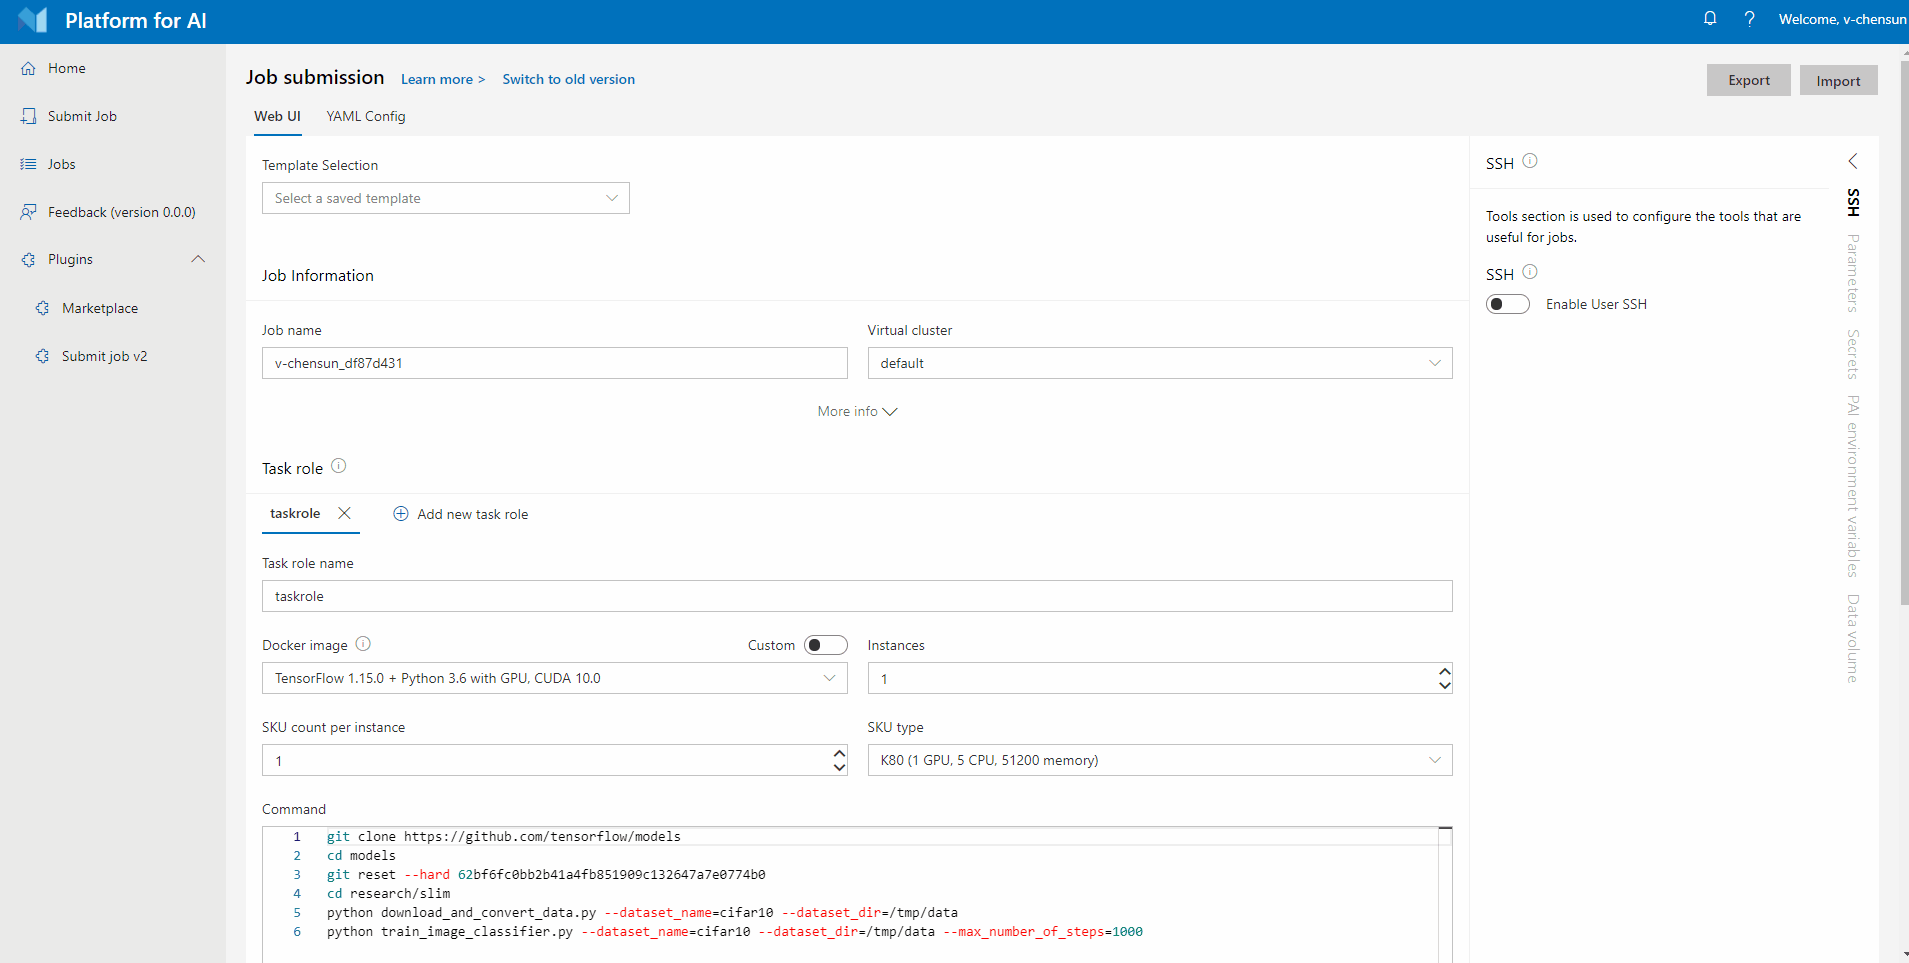
Step 5. Specify the Docker image. You can either use the listed docker images or take advantage of your own. Here we select TensorFlow 1.15.0 + Python 3.6 with GPU, CUDA 10.0, which is a pre-built image. We will introduce more about docker images in Docker Images and Job Examples.
Step 6. If you need to configure some additional properties, you can click More info to expand the additional properties configuration.
Step 7. Click Submit to submit the job.
Submit the Hello World job in yaml editor
In the new version, you can switch between Web UI and YAML Config pages to achieve real-time synchronization.
Step 1. Click the YAML Config to reach the yaml editor page.
Step 2. In default case, the editor is in the read-only state. Then click the Edit to change into the write mode.
Step 3. If no error message in yaml content, click save to save it. Otherwise, it will prompt a warning Error when saving the yaml page
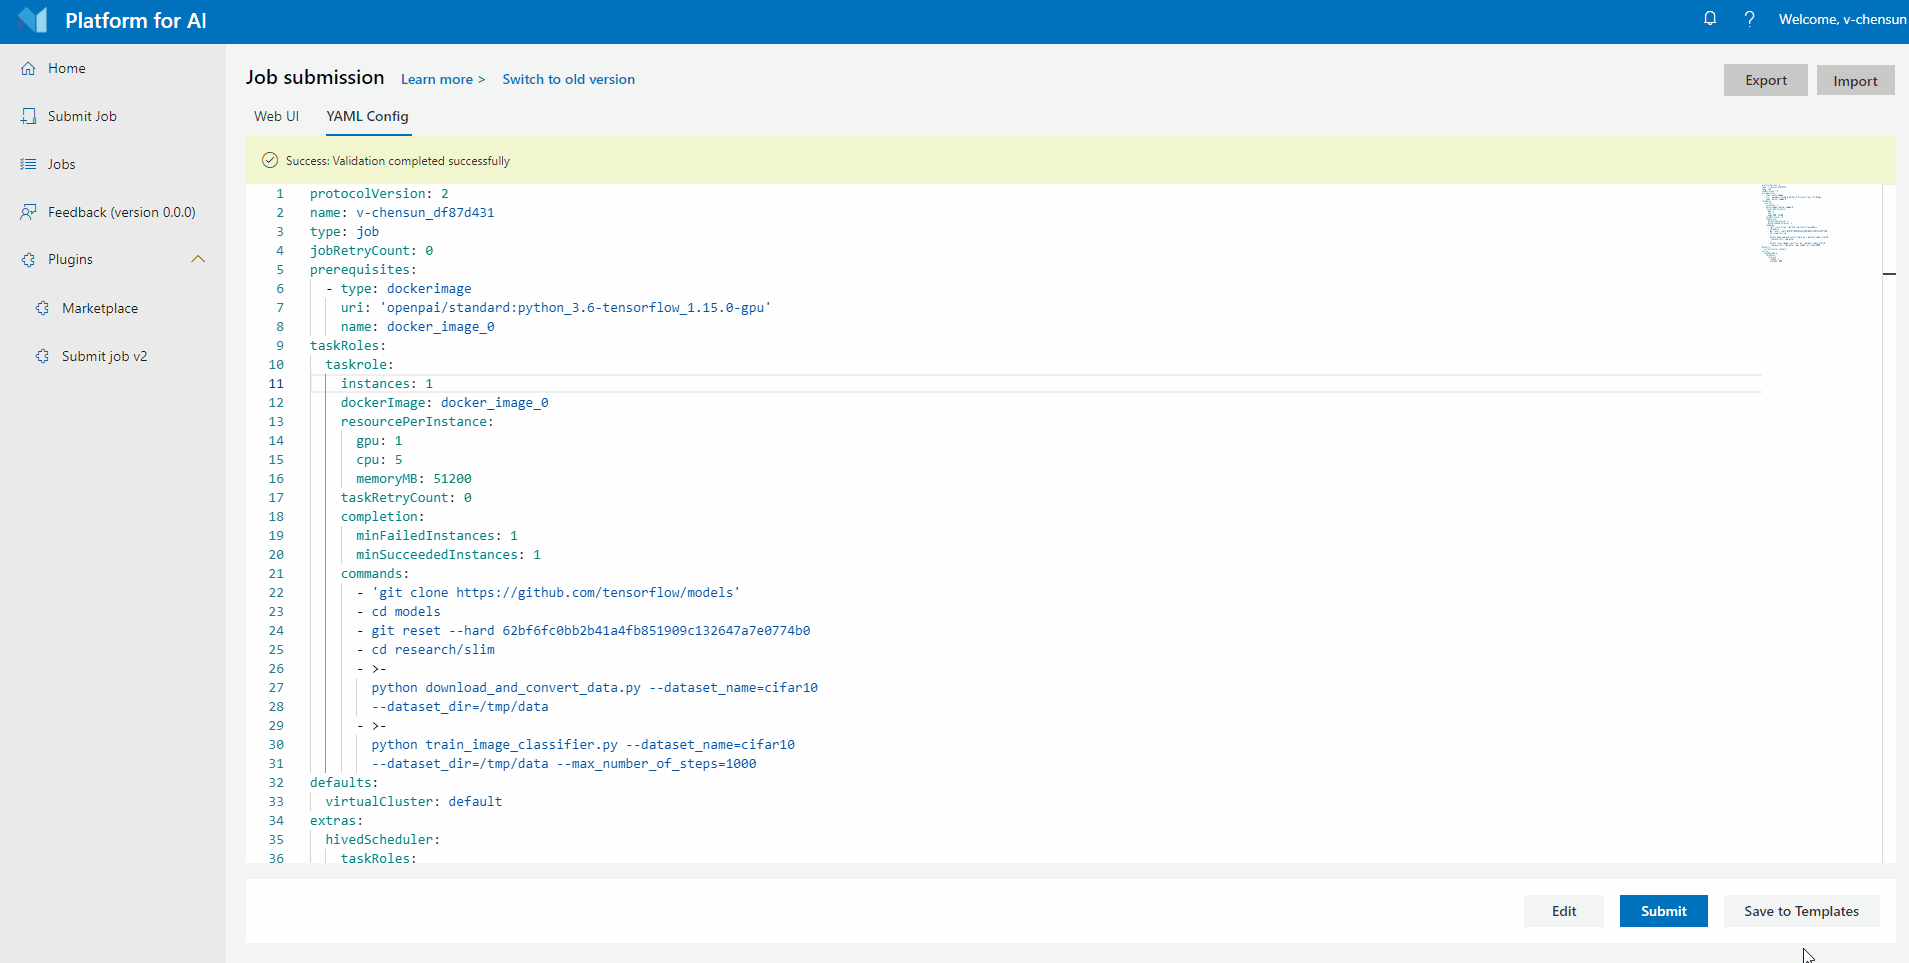
Step 4. Click Submit to submit the job.
Compare the new version with the old version
-
New submission page replaces
AdvancedwithMore infoand places it under each section to improve user experience. -
In new submission page, the sidebar can be shrank to give the main area more visual space.
-
The new submission page moves the yaml editor into a single page, which allows user to focus on setting config or editing yaml protocol.
-
The new submission page improves the responsive design in small and medium resolution.
Know Issue: Tensorboard tool is not implemented in the new submission page yet. If you need to use it, please use the old version.